Imagine walking into your living room and seeing furniture that’s not only beautiful but also a testament to your ingenuity. With wooden pallets—those humble platforms often tossed aside—you can craft pieces that are sustainable, affordable, and bursting with character. This isn’t just about saving money; it’s about reimagining your space with your own hands. In this guide, we’ll take you through the process of creating pallet furniture that transforms your living room into a personalized haven.
We’ll start by exploring why pallets are a DIY dream, then move into practical steps for sourcing materials, gathering tools, and building three standout pieces: a coffee table, a sofa, and a media console. Along the way, you’ll find tips, safety advice, and creative ideas to make your projects shine. By the end, you’ll have everything you need to start your own pallet revolution. Ready? Let’s get started!
Why Choose Pallet Furniture?
Pallets have a magic that goes beyond their simplicity. Here’s why they’re an ideal choice for your living room makeover:
- Sustainability: Turning pallets into furniture keeps wood out of landfills and reduces the demand for new resources.
- Affordability: Often free or dirt-cheap, pallets let you create high-impact pieces without breaking the bank.
- Flexibility: Their slatted design adapts to countless shapes—think tables, seats, or shelves.
- Unique Style: With a little effort, pallets can fit any aesthetic, from raw and rustic to polished and modern.
But to make the most of them, you need to know how to source and prep them properly. Let’s dive into that next.
Step 1: Finding and Prepping Your Pallets
Your pallet projects begin with the right materials. Here’s how to get started:
Where to Source Pallets
- Local Spots: Check with small businesses, hardware stores, or shipping companies—they often have extras they’re happy to give away. Just ask first!
- Online: Browse sites like Craigslist or local Facebook groups for free or low-cost pallets.
- Recycling Hubs: Some areas have pallet recycling centers offering cleaned-up options for a small fee.
Picking the Right Pallets
- Safety First: Look for “HT” (heat-treated) stamps—these are chemical-free and safe for indoor use. Steer clear of “MB” (methyl bromide) pallets, which are treated with toxins.
- Quality Check: Avoid pallets with cracked boards, mold, or a funky smell. You want solid, workable wood.
Prepping for Projects
- Clean Up: Scrub the pallets with a brush and soapy water to remove dirt. Dry them thoroughly to prevent warping.
- Smooth It Out: Sand all surfaces with 120-grit sandpaper to remove splinters and rough spots.
- Break It Down (If Needed): Use a pry bar and hammer to gently disassemble pallets for custom cuts. Watch those nails!
Safety Note: Wear gloves and eye protection—pallets can be splintery and dusty.
Step 2: Tools and Supplies You’ll Need
Before you build, gather your toolkit. Here’s what you’ll need for most pallet projects:
- Essentials: Hammer, pry bar, saw (hand or circular), drill, screwdriver, measuring tape, sandpaper (120 and 220 grit), paintbrushes.
- Fasteners: Screws, nails, wood glue, and metal brackets for extra strength.
- Finishes: Wood stain, paint, or clear sealant to protect your creations.
Quick Tip: A cordless drill and a decent saw will save you time and effort, especially for bigger builds.
Step 3: Crafting a Pallet Coffee Table
Let’s start with something simple yet transformative—a pallet coffee table that anchors your living room with style.
What You’ll Need
- 2-3 pallets (adjust for size)
- Sandpaper (120 and 220 grit)
- Wood stain or paint
- 4 caster wheels (optional)
- Screws and brackets
How to Build It
- Prep Work: Sand the pallets until smooth, focusing on the top surface where drinks and decor will sit.
- Assemble: Stack two pallets and secure them with screws and brackets. One pallet works for a lower profile.
- Add Mobility (Optional): Screw caster wheels to the bottom for a table that rolls where you need it.
- Finish It: Apply stain or paint in thin coats, letting each dry. Seal with a clear coat for longevity.
Creative Spin: Attach a glass top (cut to size from a hardware store) for a sleek, modern touch.
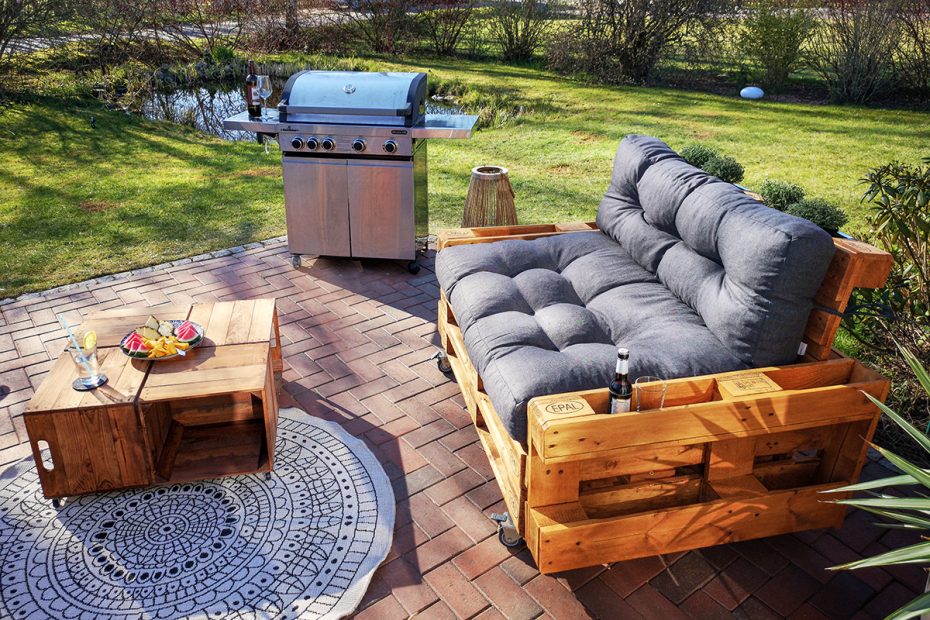
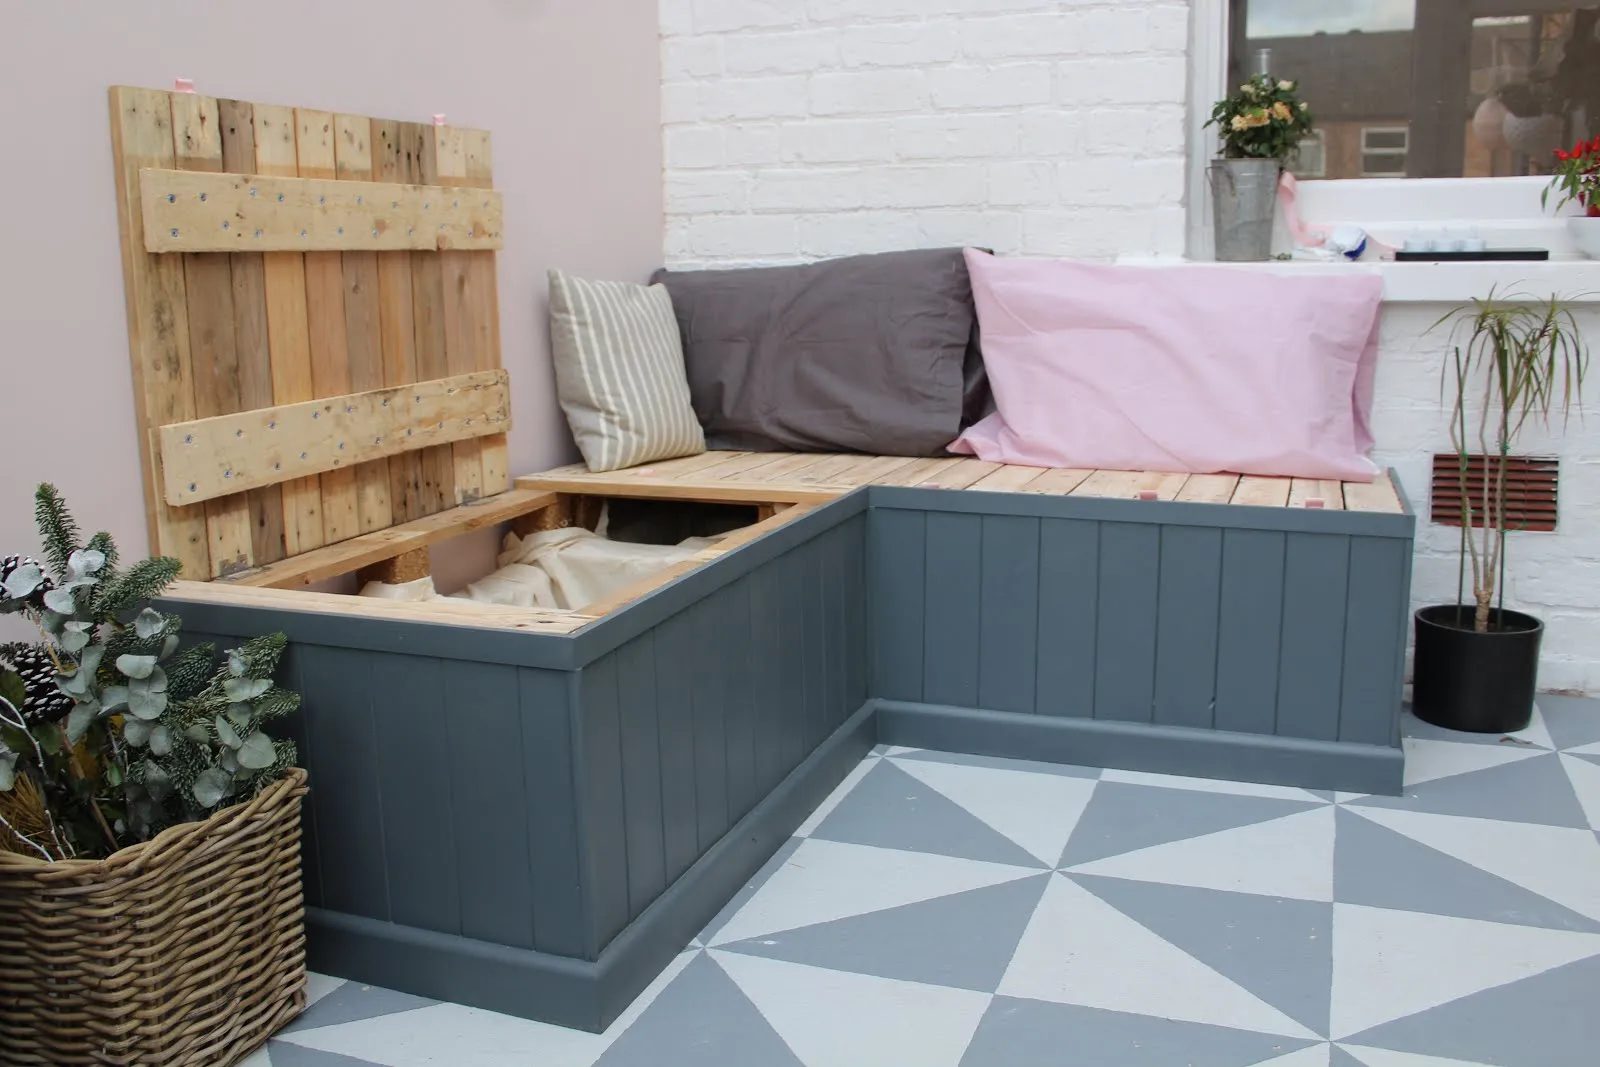
Step 4: Building a Pallet Sofa
Next up: a pallet sofa that’s cozy, custom, and perfect for lounging. This one takes more effort but delivers big rewards.
What You’ll Need
- 4-6 pallets (depending on size)
- Sandpaper
- Foam padding or an old mattress
- Durable fabric for cushions
- Screws, brackets, wood glue
How to Build It
- Base Layer: Place two pallets side by side for a two-seater. Secure them with screws and brackets.
- Backrest: Stand one or two pallets upright behind the base and fasten them tightly.
- Armrests (Optional): Cut pallet sections to size and attach them to the sides for a finished look.
- Smooth and Finish: Sand everything, then apply a finish—use a weatherproof one if it’s near a window.
- Cushions: Cut foam to fit, wrap it in fabric, and secure it with ties or velcro.
Comfort Boost: Add a thick blanket or extra pillows for a plush feel.
Step 5: Making a Pallet Media Console
A media console ties your living room together, offering storage and a spot for your TV. Here’s how to craft one.
What You’ll Need
- 3-4 pallets
- Sandpaper
- Wood stain or paint
- Screws and brackets
- Optional: a wood plank or glass for the top
How to Build It
- Take Apart: Disassemble the pallets, keeping slats whole for shelves and frames.
- Frame It: Build a rectangular base using pallet frames. Add legs or keep it flush to the floor.
- Shelving: Attach slats inside the frame for shelves—perfect for books or devices.
- Top Surface: Use a wide slat, reclaimed wood, or glass for a smooth top.
- Finish Up: Sand and stain or paint. A dark finish gives it a polished edge.
Storage Idea: Add woven baskets under the shelves for a tidy, stylish look.
Step 6: Adding the Wow Factor
The details make your furniture pop. Here’s how to take it to the next level:
- Protect It: Seal with polyurethane to guard against spills and scratches.
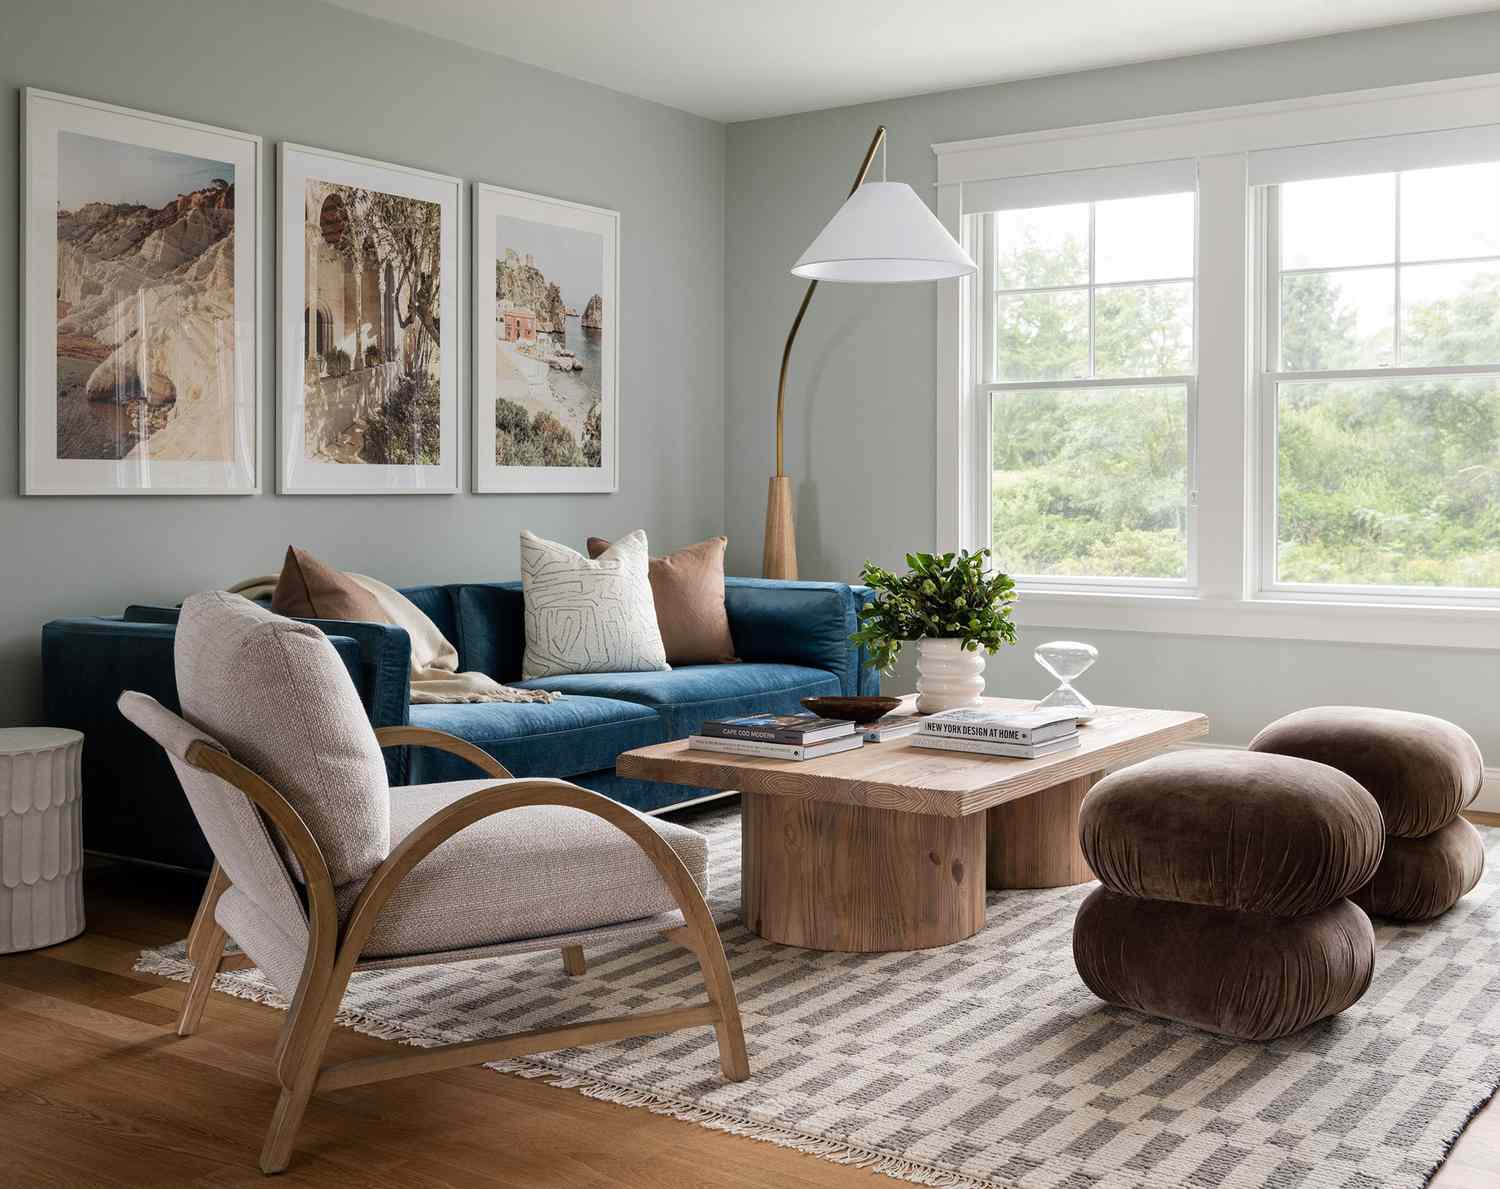
- Style It: Add a tray to the coffee table, a throw to the sofa, or plants to the console.
- Light It Up: Place your pieces near a window or add a lamp to show off the wood’s texture.
- Color Play: Paint one item—like the console—in a bold shade for contrast.
Smooth Finish: Fill nail holes with wood filler before sanding for a pro-level look.

Conclusion: A Living Room That’s Yours
Pallet furniture is more than a trend—it’s a way to craft a living room that’s uniquely yours. Each scratch, sanded edge, and brushstroke tells a story of your creativity and care. Whether you build a single table or a full set, you’re not just making furniture; you’re making memories.
So grab some pallets, roll up your sleeves, and start experimenting. Your living room revolution is waiting—and it’s going to be incredible.