Growing your own vegetables is one of the most rewarding things you can do at home. Imagine stepping outside to pick a handful of crisp lettuce or a ripe tomato, knowing you nurtured it from seed to plate. It’s not just about fresh food—it’s about connecting with nature, saving money, and gaining a skill that lasts a lifetime. You don’t need a big yard or years of experience to get started; a sunny corner, a few pots, and some patience are enough. In this guide, we’ll take you through every step of growing vegetables at home, from picking the right crops to harvesting them at their peak. Whether you’re a beginner or looking to refine your green thumb, this article has everything you need to succeed.
Why Grow Vegetables at Home? The Benefits Await
Homegrown vegetables offer more than just a tasty meal. Here’s why it’s worth the effort:
-
- Fresher Flavor: Nothing beats the taste of veggies picked minutes before eating—they’re packed with nutrients and flavor store-bought versions can’t match.
-
- Control Over Quality: You decide what goes into your soil and plants, skipping pesticides or chemicals if you choose organic methods.
-
- Cost Savings: Seeds and soil cost less than weekly grocery hauls, especially for staples like herbs or greens.
-
- Mental Boost: Gardening reduces stress and boosts mood, according to studies. It’s a hands-on way to unwind and feel accomplished.
-
- Sustainability: Growing your own cuts down on packaging and transport emissions, making it a small but meaningful eco-friendly choice.
Even a modest setup—like a few pots on a balcony—can yield enough to transform your meals and your mindset. Let’s get started.
Step 1: Choose the Right Vegetables for Your Space
Not all vegetables suit every home, so pick ones that match your environment and goals. Here’s a starter list based on ease and space:
-
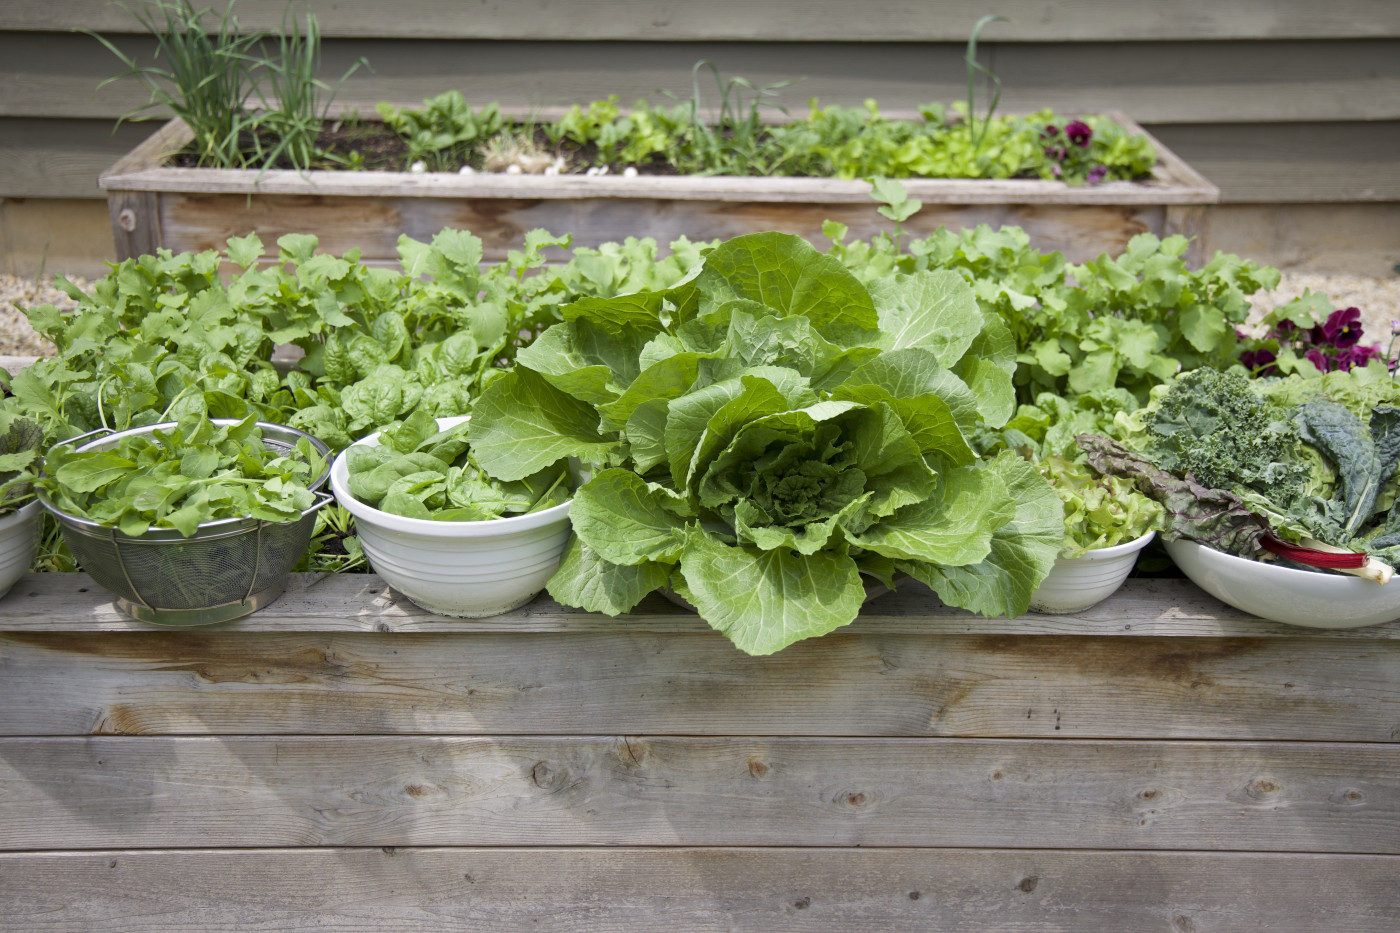
- Leafy Greens (Lettuce, Spinach, Kale): Fast-growing and compact, they thrive in pots or small beds. Harvest leaves as needed for months.
-
- Root Veggies (Radishes, Carrots): Great for deeper containers. Radishes sprout in 3-4 weeks, perfect for impatient beginners.
-
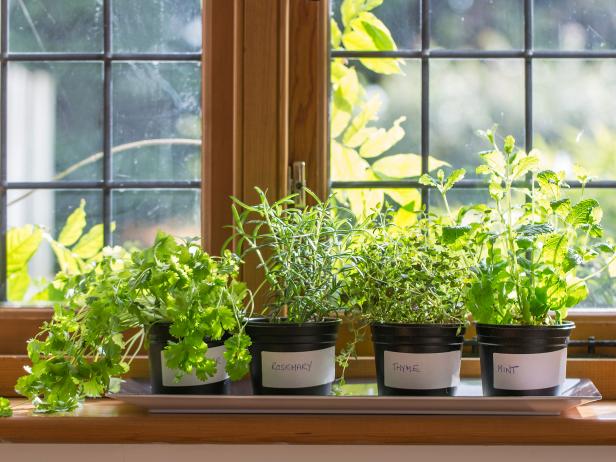
- Herbs (Basil, Parsley, Mint): Tiny footprints, big flavors. Grow them on a windowsill year-round.
-
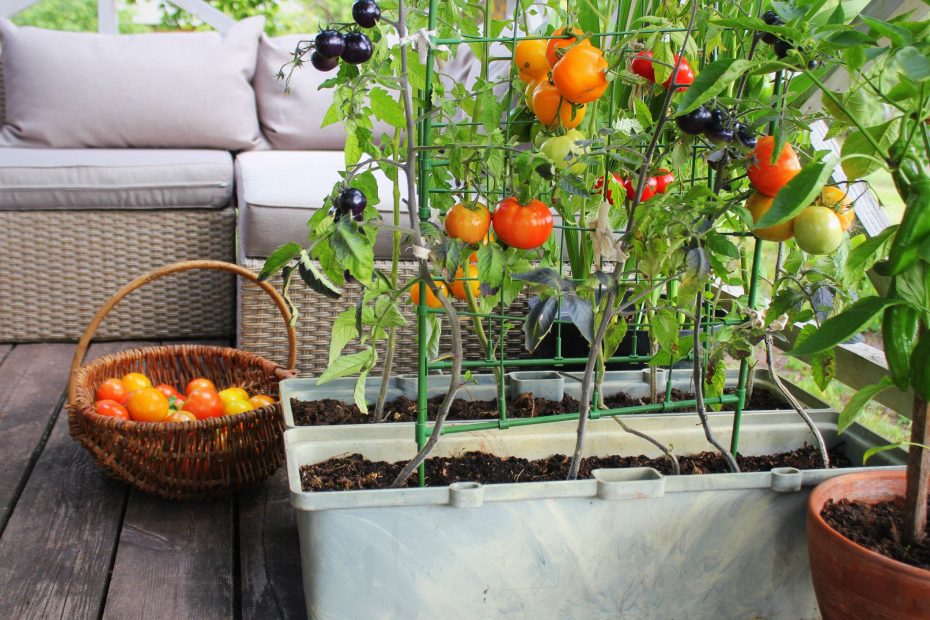
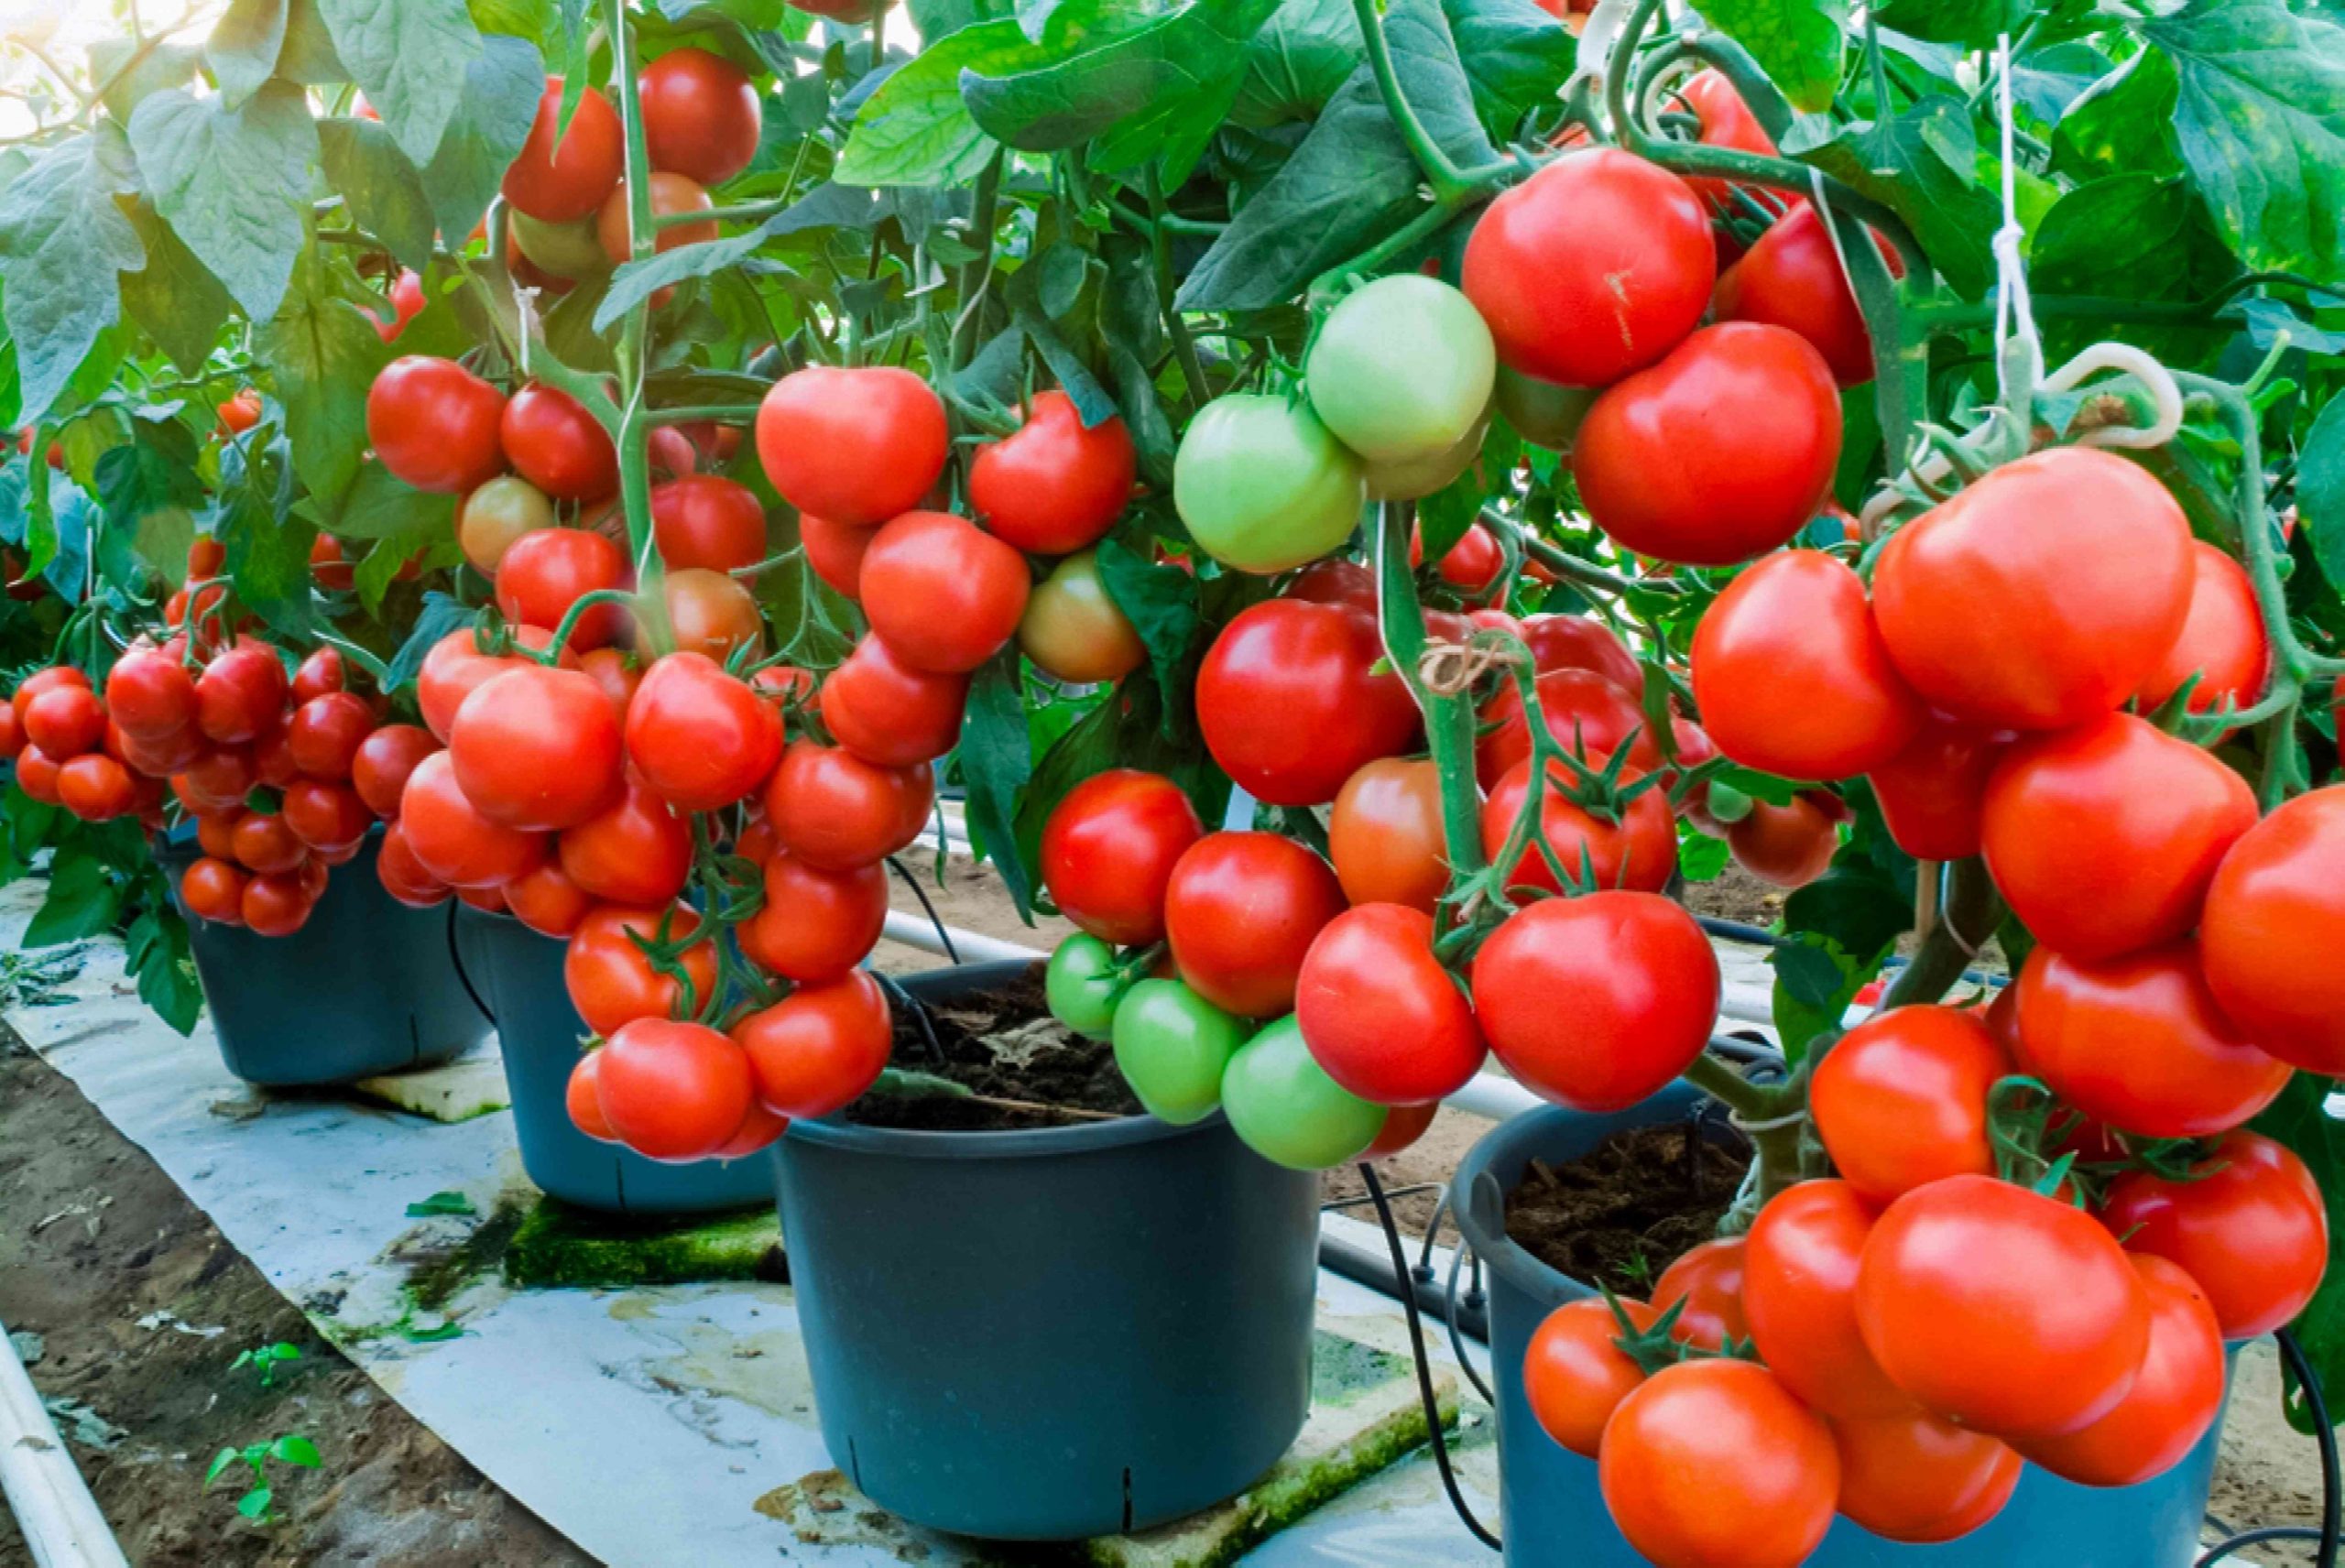
- Tomatoes: Need more room and sun but reward you with juicy fruit. Opt for cherry varieties in tight spaces.
-
- Peppers: Compact and colorful, they do well in pots with good drainage.
Check your sunlight—most veggies need 6+ hours daily. No yard? Use a sunny porch or a grow light indoors. Pick crops you love to eat, and start small with 2-3 types to build confidence.
Step 2: Set Up Your Growing Space
Your setup depends on what you’ve got—here’s how to make it work:
-
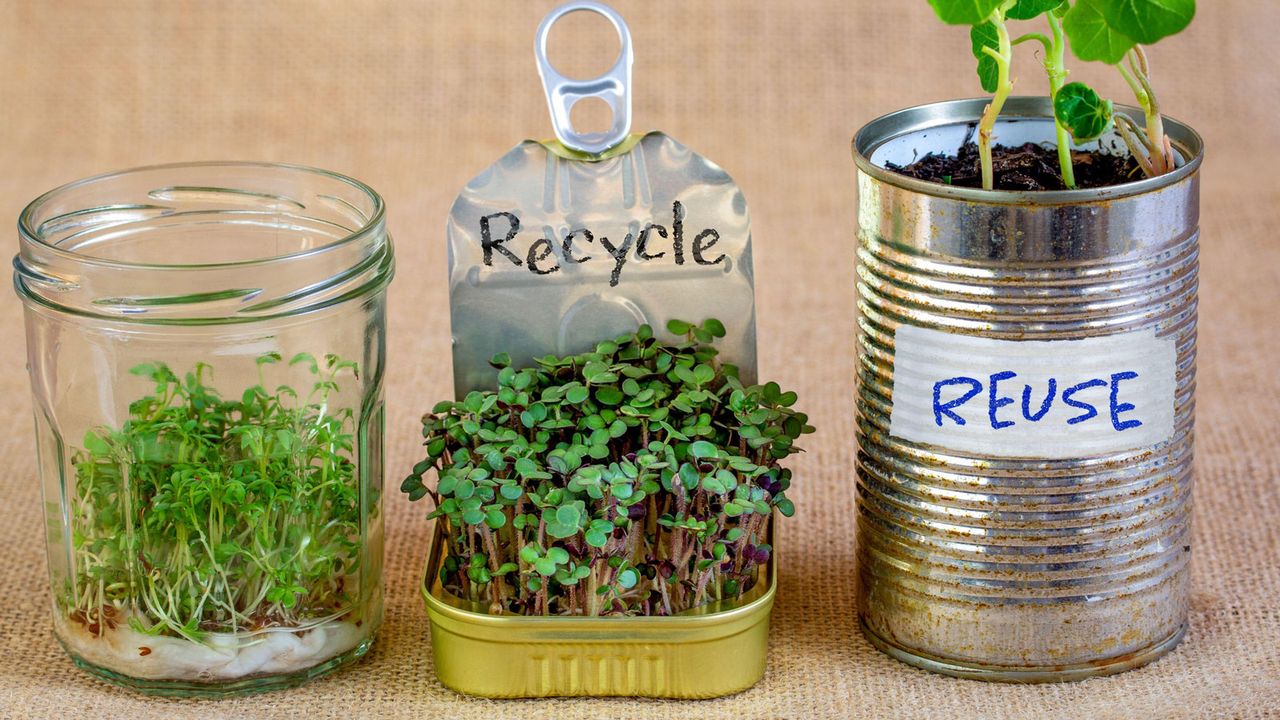
- Containers: Pots, buckets, or even old crates with drainage holes are perfect for patios or indoors. Match size to the plant—6 inches deep for greens, 12+ for roots or tomatoes.
-
- Raised Beds: Ideal for backyards, they warm up faster and drain better than ground soil. Build one 4×4 feet to start.
-
- Vertical Gardens: Use wall pockets or stacked planters for herbs and greens if floor space is tight. Great for fences or balconies.
-
- Soil Prep: Mix potting soil with compost (2:1 ratio) for nutrients and drainage. Skip garden dirt—it’s too dense for pots.
Place your setup where it gets sun and easy water access. If wind’s a factor, shield delicate plants with a screen or moveable pots. Label each spot so you remember what’s where.
Step 3: Plant Like a Pro
Timing and technique set your veggies up for success. Here’s how:
-
- Seeds vs. Seedlings: Seeds are cheaper and offer more variety—sow them indoors 4-6 weeks before your last frost (check local dates, like mid-March for many zones). Seedlings give a head start; buy healthy ones with green leaves, no yellowing.
-
- Planting Depth: Check seed packets—small seeds (lettuce) go ¼ inch deep, bigger ones (beans) 1 inch. Too deep, and they won’t sprout.
-
- Spacing: Crowding stunts growth. Give lettuce 6 inches, tomatoes 2 feet. Thin seedlings if they’re too close—snip extras with scissors.
-
- Timing: Cool crops (spinach) love spring or fall; heat-lovers (peppers) need summer warmth. Stagger planting every 2 weeks for a steady supply.
Water gently after planting to settle the soil, and keep it moist (not soggy) until sprouts appear. Patience is key—germination can take 5-14 days.
Step 4: Care and Nurture Your Plants
Growing veggies is like raising kids—they need consistent attention. Here’s your care checklist:
-
- Watering: Aim for 1 inch per week, more in heat. Water at the base, not leaves, to avoid rot. Early mornings are best—lets soil soak before the sun dries it.
-
- Feeding: Mix in a balanced fertilizer (like 10-10-10) every 4-6 weeks, or use compost tea for an organic boost. Overfeeding burns plants, so follow labels.
-
- Weeding: Pull weeds weekly—they steal nutrients. Mulch with straw or bark to keep them down and hold moisture.
-
- Pests: Check under leaves for bugs like aphids. Blast them off with water or use a soap spray (1 tsp dish soap per quart of water). Ladybugs are natural pest-eaters—welcome them.
-
- Support: Stake tomatoes or peppers with cages or sticks when they hit 12 inches. It keeps fruit off the ground and plants upright.
Watch your plants—they’ll tell you what they need. Droopy leaves? More water. Yellow tips? Ease up on fertilizer. Adjust as you go.
Step 5: Harvest at the Right Time
The payoff is picking your own food—here’s how to do it right:
-
- Greens: Snip outer leaves when they’re 4-6 inches, leaving the center to regrow. Harvest early for tender bites.
-
- Roots: Pull radishes at 1 inch wide, carrots when tops peek out. Too late, and they get woody.
-
- Tomatoes/Peppers: Pick when fully colored but firm—red for most tomatoes, green-to-red for peppers. Twist gently or use scissors.
-
- Herbs: Clip stems above a leaf pair to encourage bushiness. Don’t take more than a third at once.
Harvest in the morning after dew dries for peak flavor. Use right away or store—greens in the fridge, roots in a cool, dark spot. Celebrate each pick—it’s your hard work paying off.
Troubleshooting: Solve Common Problems
Even pros hit snags. Here’s how to fix them:
-
- Slow Growth: Too little sun or food? Move pots to brighter spots or add compost.
-
- Yellow Leaves: Overwatering or nutrient lack—cut back water and test soil pH (aim for 6-7).
-
- Pests: Sticky traps catch flies; hand-pick bigger bugs like caterpillars. Row covers block them early on.
-
- Wilting: Check roots—soggy means rot, dry means thirst. Adjust your routine.
Keep a notebook—track what works and what flops. Every season teaches you something new.
Conclusion: Grow Your Way to a Better Table
Cultivating vegetables at home is a journey worth taking. It starts with a seed, a bit of dirt, and a willingness to learn—and ends with flavors you can’t buy. You don’t need perfection; you need curiosity and care. Pick a crop, set up a pot, and watch it grow. Each leaf and fruit is a small victory, proof you can nurture life in your own space. So grab some seeds, dig in, and let your home become a little greener—and tastier—today.